Inspired by: https://github.com/mogenson/firefly-jar
Parts List
- 3.3V 250mA linear regulator
- 20V 1A diode
- 40V 430mA P-channel MOSFET
- 1M Ohm Resistor
- 1uF capacitor
- Perma-Proto board
- 2x NiMh AA battery
- Battery Holder
- SPDT switch
- 4x Warm White 5mm flicker LED
- 3V, 100mA solar panel from Sundance Solar.
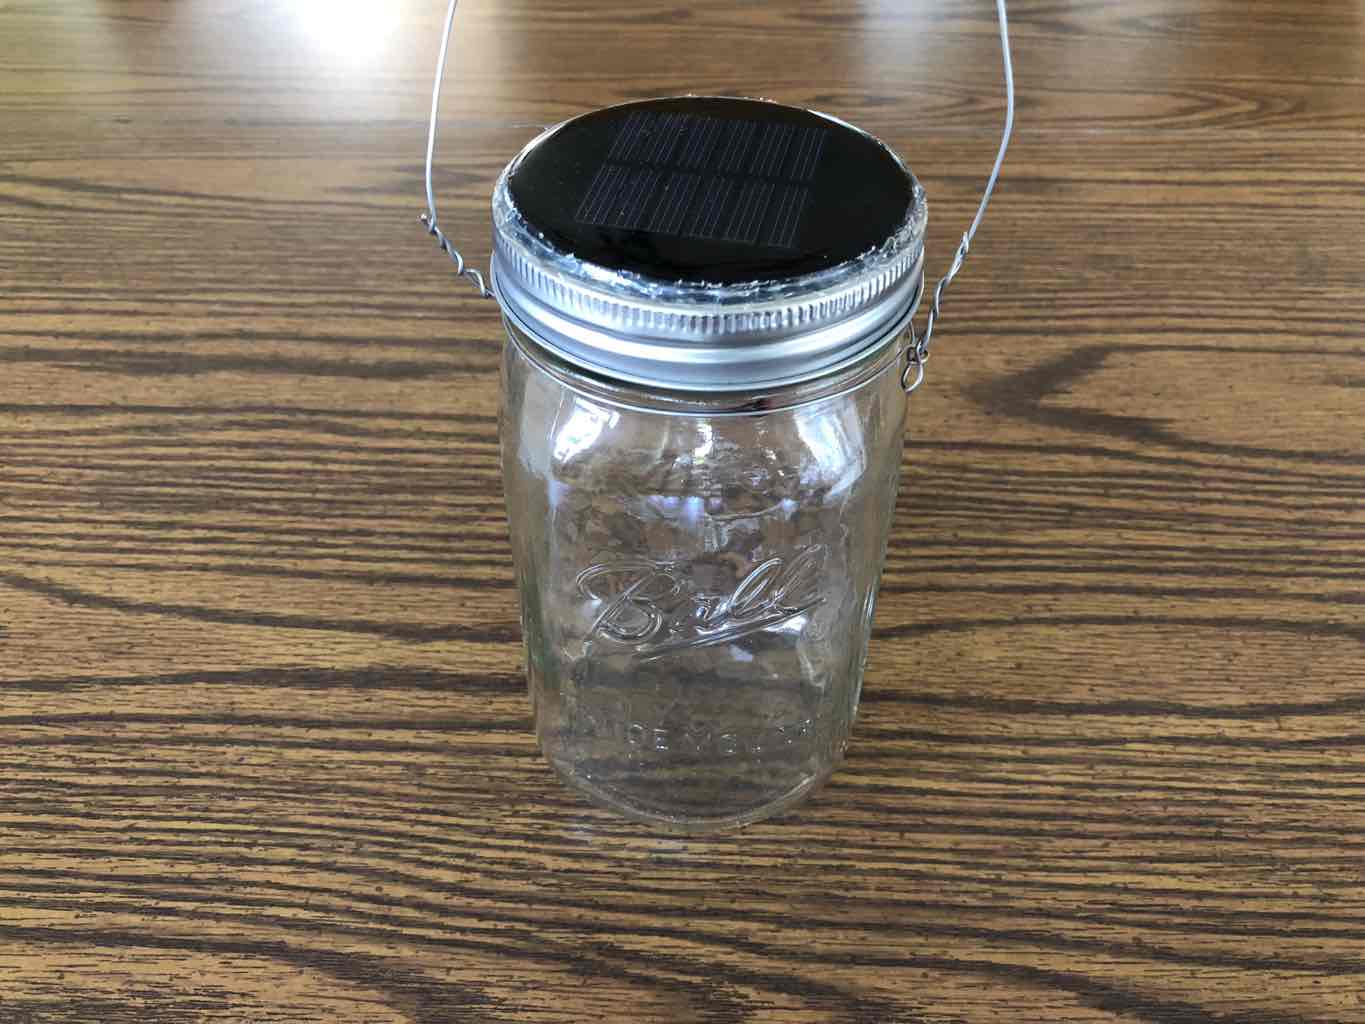
- Mason Jar
- 2x small cotter pins
Tools Needed
- Soldering Iron
- Hot Glue Gun
- Drill
Schematic
For the most part, I followed this schematic for wiring the circuit. Modifications I made to the parts and construction are noted below.
Modifications
I had to make a few modifications in order to finish the project.
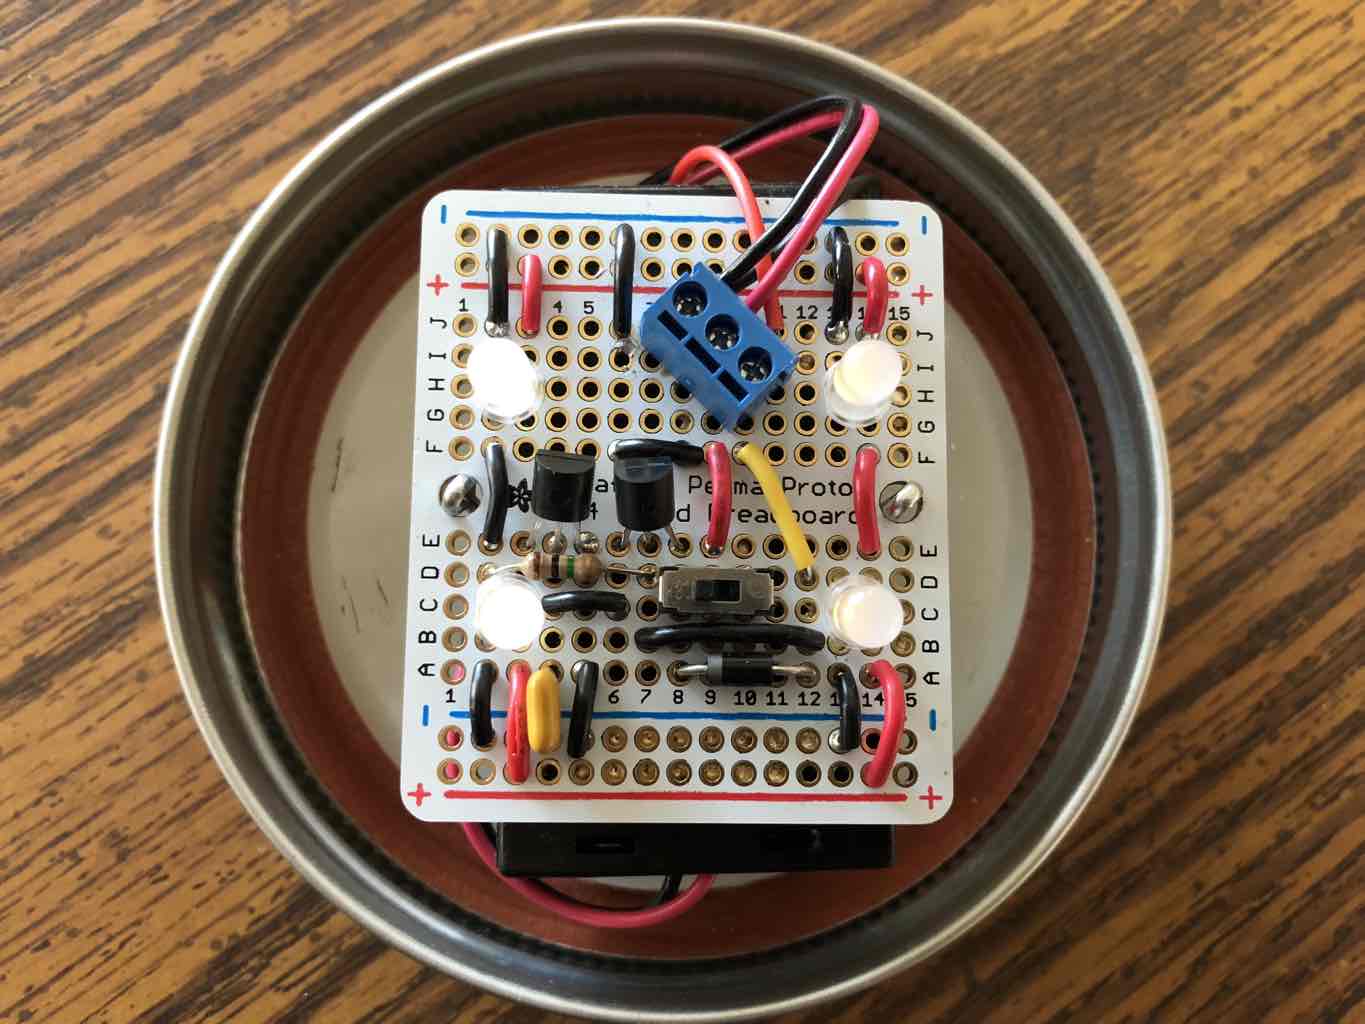
First, I had to split the #8 rail into two using a razor blade. Since the switch we are using is a DPDT switch, It controls two independent circuits. They both share a ground (the middle two leads), but the two lines on the #8 rail for each side of the switch should be independent to allow the switch to function properly.
The second modification was a different linear regulator due to the unavailability of the one specified in the original designs.
The last modification I had to make to the original circuitry was removing the capacitor that was in parallel to the LEDs. This is due to the fact that the LEDs contain internal flicker circuitry which functions improperly when the capacitor is present (they will randomly decide whether or not to actually turn on when the power is applied).
The original project had a circuit board design, but I opted to lay out the components on one of Adafruit’s perma-proto boards.
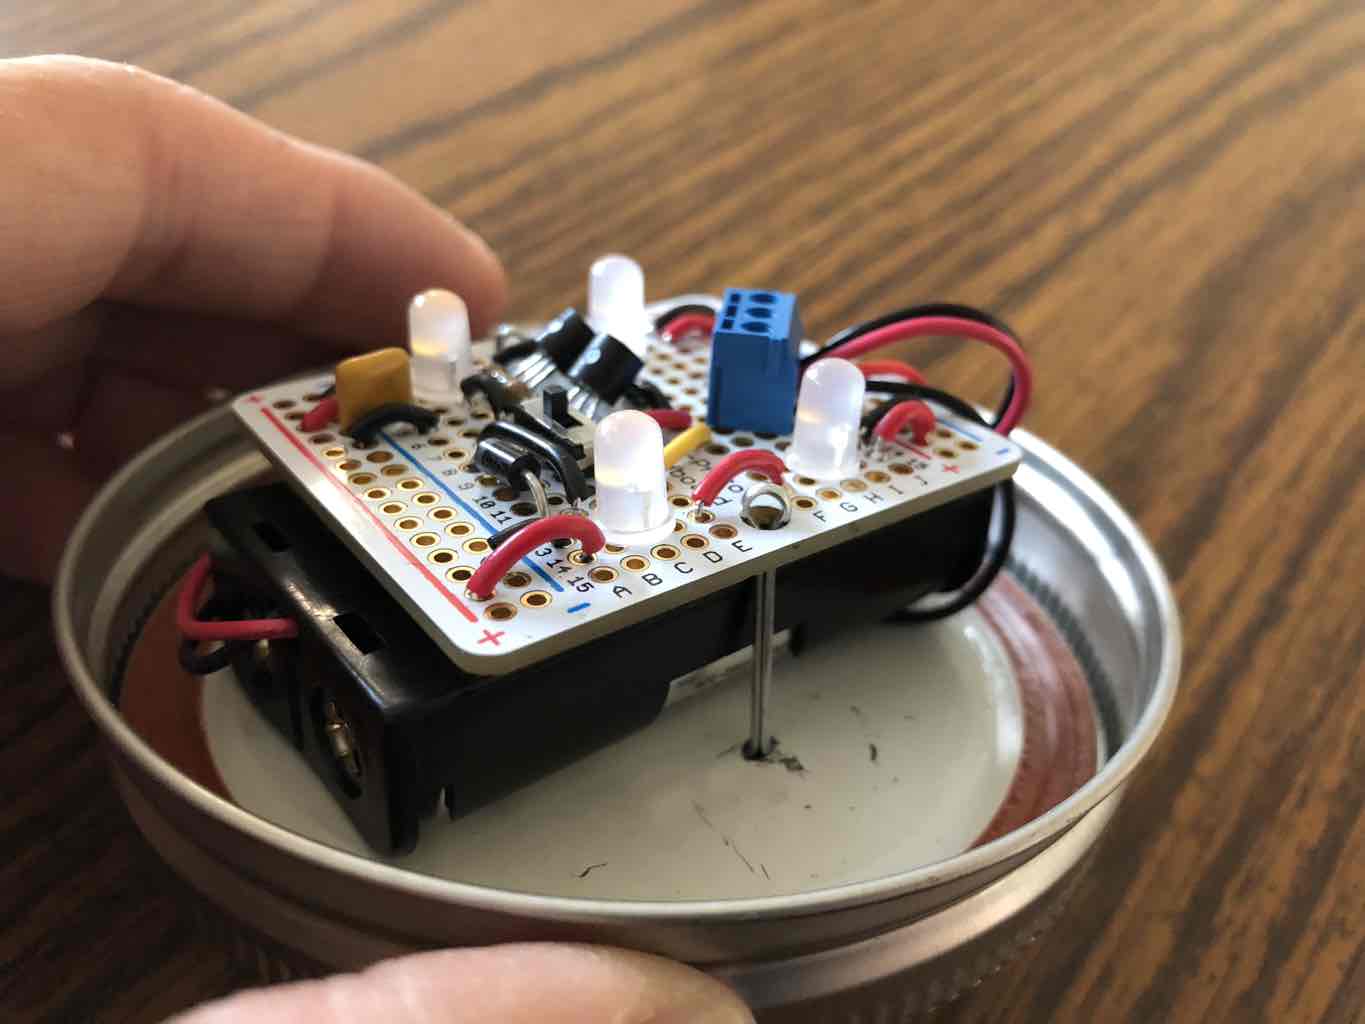
For mounting, I used cotter pins to suspend the circuit board from the mason jar’s lid.
The light has been functioning non-stop for close to a year, without any external charge needed for the batteries.